
The world of coding is incredibly vast. A coding passion project can result in a written article, a biomedical device, a game, and even an educational tool - the possibilities are simply endless! Given the versatility of computer science as a discipline and the advances in technology, it is not surprising that so many different problems in fields ranging from linguistics to medicine to astrophysics can be solved by some kind of software or application. That being said, when students work on passion projects that contain a coding component, they’re often confronted with the question: what’s the best way for me to showcase my work? Unlike in other fields, a research paper or a blog post might not be enough to demonstrate the work you’ve done and the features of the application or program you’ve created. To this end, we have created this guide to show you how you can showcase the code of your project on Github.
Several web platforms provide a tool where you can store your code online to make it easily browsable, understood, and reused in other applications. The buzz-word here is open-source: that means that the source code you create for your application is going to be publicly available on the internet, so others can learn from it or reuse it and repurpose it. Nowadays, the biggest player in that scene is GitHub. Among the many features that Github offers is that it allows users to store an unlimited number of coding projects for free!
Do your own research through Polygence!
Polygence pairs you with an expert mentor in your area of passion. Together, you work to create a high quality research project that is uniquely your own.
One of the best features of GitHub is its neat desktop app that lets you upload code without using terminal commands. Though that is the general way of publishing code to GitHub, the desktop app will help you to get a head start in understanding how this works.
What is Github?
GitHub is an online source control service provider, and there might be several terms here that need an explanation. Source control software is generally used to manage your code base changes to ensure that you have a track record of what change happened when and why. If you find a bug months after the change, this version history feature will help you understand what went wrong as you prepare for a new release version. The biggest advantage of this feature is in collaborative code-writing. Source control software will eventually help your entire team understand each others' code, track each others' changes and so on.
To start working with this tool, you need to follow a few simple steps of setup.
First you'll need an account on GitHub, you can register one for free at https://github.com/signup.
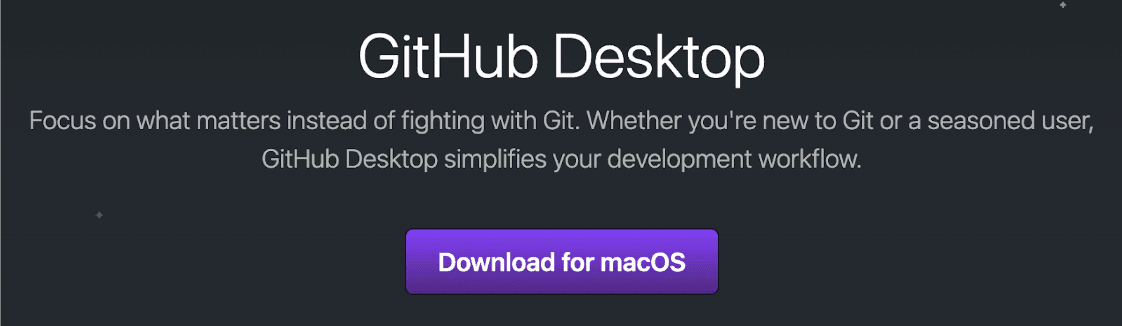
Then you'll need to download the GitHub Desktop app, which is available for Windows and Mac computers at https://desktop.github.com/
Install the app, if you get stuck here's a detailed step by step
Start the app and sign in, you should see something like this
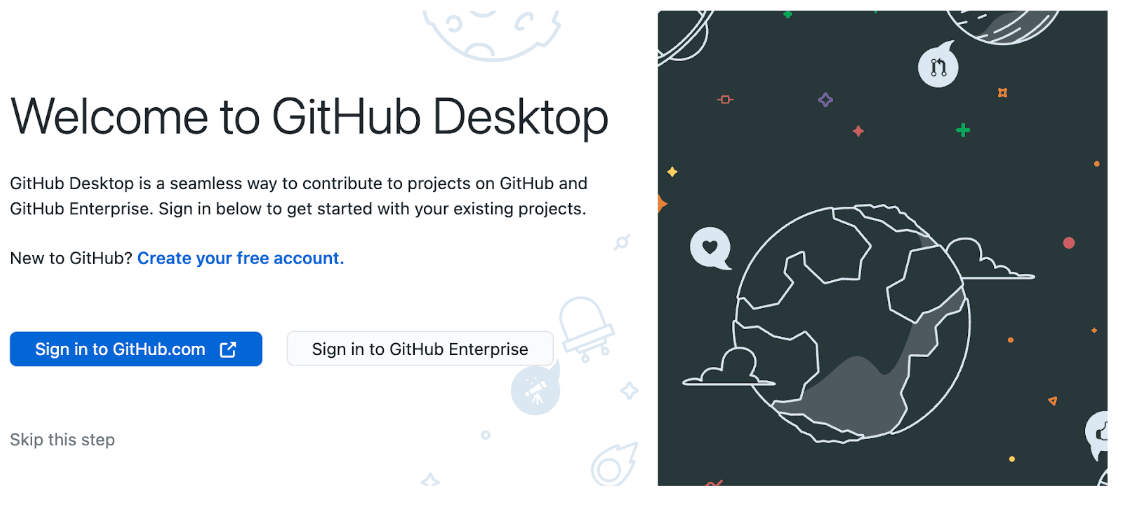
If this is not how your app started, then you can find the Sign In button:
On a Mac under Preferences / Account
On a Windows under Options / Account
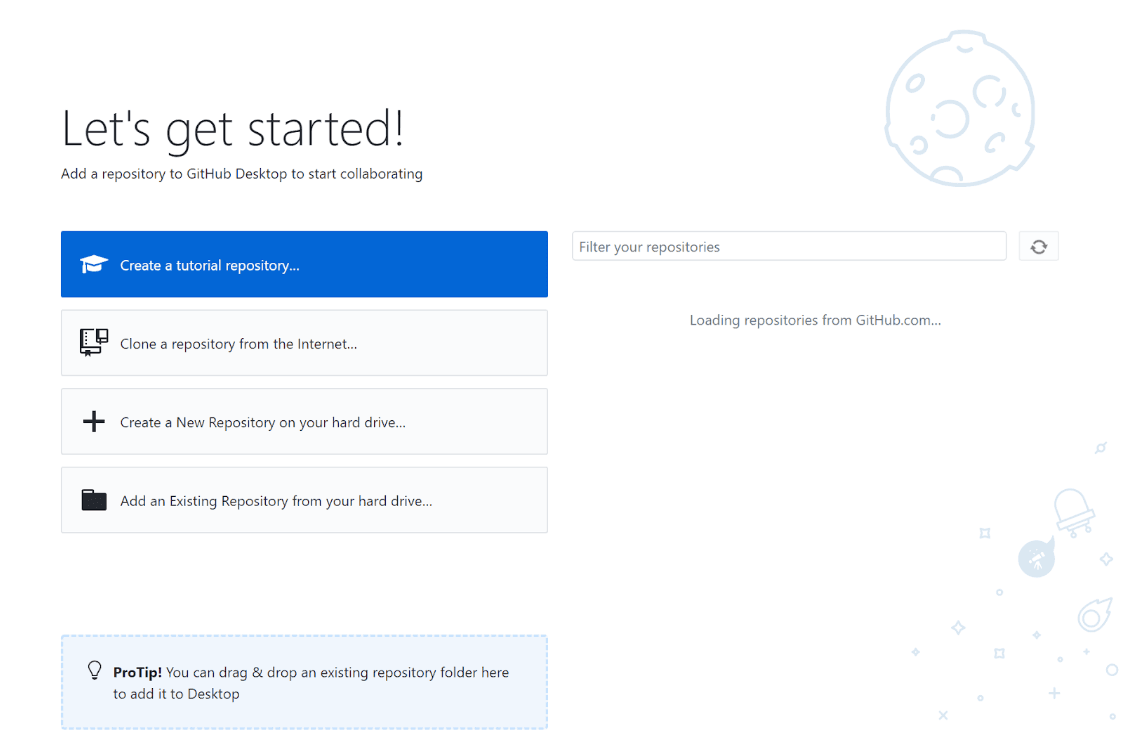
Once you've set these up and signed in with your GitHub account, you can start using the app to track your source code changes, upload them and publish them on GitHub. You should see something like this:
What are Repositories in Github?
Let's talk about repositories. A repository is just a fancy name for a directory or folder for your source code that is tracked by a source control software (in this case, GitHub). A repository can have a local version on your working computer and a remote version somewhere on the internet (in this case, Github again). If you'd like to learn how repositories work through an example tutorial provided by GitHub, you can start with "Create a tutorial repository..." and follow the steps. In this guide, we'll take a different path, where you will go ahead and click on the "Create a New Repository on your hard drive..." button (just below the other one), to create a local repository folder.
Your Project Your Schedule - Your Admissions Edge!
Register to get paired with one of our expert mentors and to get started on exploring your passions today! And give yourself the edge you need to move forward!
Generally it is a good idea to organize your coding projects into a single folder so you can easily find specific projects. In fact, this is also the logic that Github Desktop suggests you follow. So when you create a new repository (think of it as a folder on your computer), the app will let you specify in which containing folder this should be created. In this case my new repository will be named my-new-repo and I will be able to find this folder in the GitHub folder in my Documents. In the end, it's up to you where you'll store your projects on your computer, so choose a place you're comfortable with.

Once created, you'll be prompted with several possibilities. If you're just starting a project, you can open this folder in your favored editor to start working. Or if you've done coding your project already, you just need to copy your work into this folder. You can easily locate the folder using the Show in Finder (Mac) or Show in Explorer (Windows) button, then copy and paste your source code in the folder. When you have finished transferring the files, the app will reflect the changes you've just made to the repository locally:
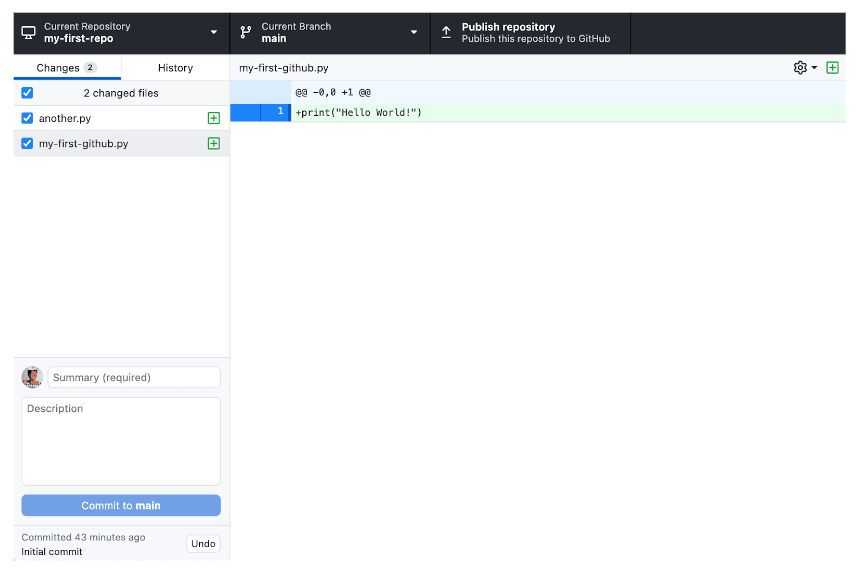
On the left sidebar you'll see all the files that have changes to them. It is worth noting that initially, all files will be considered as having new additions since you've just copied all the content there. On the right you will be able to see the contents of these files.
What is git?
Now that you’ve gotten a basic sense of how to use Github, you might be wondering: what kind of name is git ? git is the source control software on which GitHub is built and it is used to track all changes locally under the hood of the GitHub Desktop app. When using git once you make changes to the code, you will need to commit them. That basically states that you’re happy with the part of the code you've changed so far and that you’re ready for it to be stored. Usually coders make several changes to the code before actually committing it. Many things can happen that might delay your decision to commit a piece of code: there might be a bug, the display may not be correct, or perhaps the change itself is fine but you find that it breaks other processes. What usually ends up happening is that you’ll repeat the process of editing, saving, and running the code many times before reaching the decision to commit your code. If you copied over code from a different project, you probably already went through this whole iterative process with the exception of the committing. You can consider these as different versions of your software. Last but not least, when you commit, it is mandatory that you add a commit message to accompany the changes that you’re introducing to your repository. The commit message usually describes the change in a short phrase, eg.: "added login functionality", "fix broken page", "introduce online payment", etc. This makes keeping track of all of your commits very easy!
Now, as you're initializing the project on GitHub, you can specify this as the commit message on the bottom left. The GitHub Desktop app is helpful and will give you a suggestion if you only created a single new file (eg. "Created my-first-github.py"), but if you changed many things in many files, you'll need to fill the Summary yourself.
When you add a summary, you'll be able to click on Commit to main to commit your changes. It is important to remember that you have just committed the changes locally on your machine, but that those changes are not reflected in Github just yet. What you now have to do is to publish these changes online by clicking either the black Publish repository button at the top, or with the blue Publish repository button on the right.
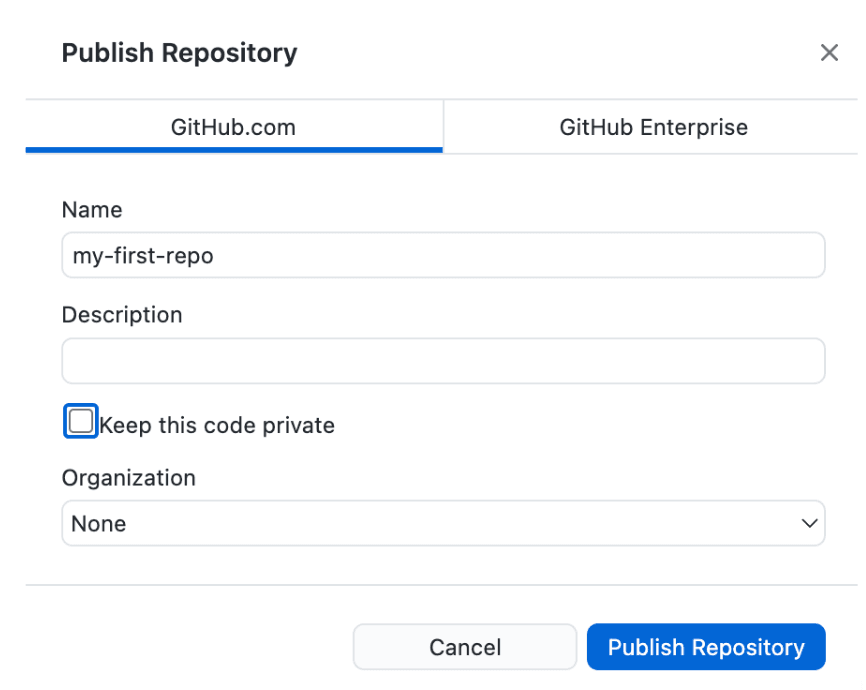
When you're first pushing changes to GitHub after a commit, you have the option of specifying a few details. The name of the repository can be different from what’s in your local folder, but it's generally a good idea to use the same name. You can also add a description or any helpful context that will be made visible on GitHub, but this is something that you can always change later down the line if you wish. You will also have the option to keep your code private, but given that this is a guide to showcasing your code to the world, this is not relevant to us right now. Last but not least, you will also be given the option of saving your new repository under an Enterprise account or an organization if you have one, but otherwise you can leave those as is.
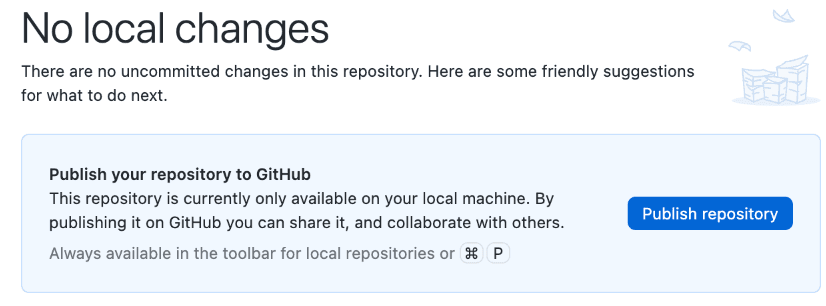
Hit Publish repository and after a few seconds of loading, you'll be taken back to the main changes screen, stating that there are no local changes. But now a new section should have appeared at the bottom:

Congratulations! Your code is officially online on GitHub!
As GitHub suggests, you might want to help people understand what's in your repository, so you can create a README.md file with a basic description of your project. This file will be displayed on the web under your source code. You can use markdown formatting in that file for stylistic purposes, so let's create it locally in your repository folder. You can add whatever content you’d like to the file - for example:
# Showcasing my coding passion project
Publishing code on GitHub is
- easy
- fast
- free
After saving your file in your repository folder, you can see that the GitHub Desktop app will have detected the changes:
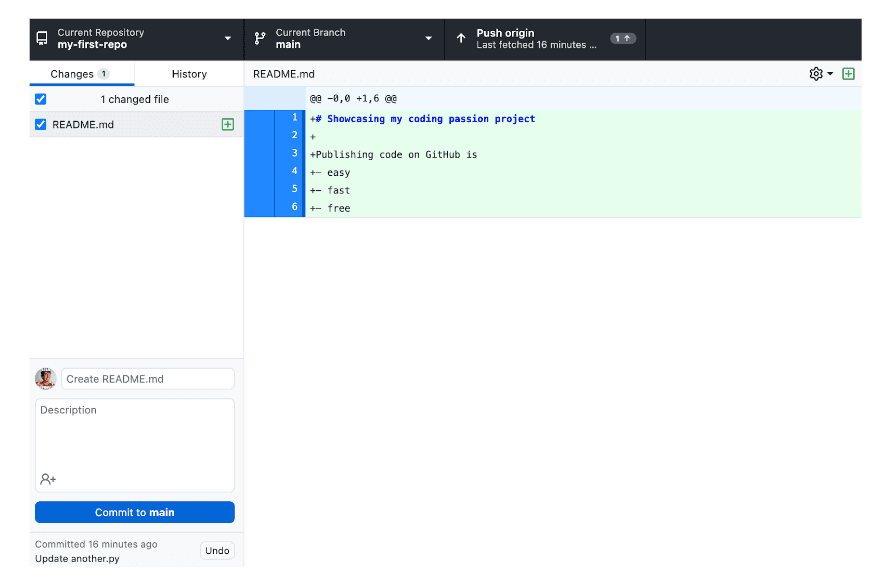
You can specify a summary and then commit again. Notice that now you don't have a "Publish" button, but a Push origin. origin is usually the term used to refer to the remote version of the repository. This simply means that you’re telling the software to push the changes to GitHub. After doing that, you'll be able to check your code on GitHub again with the nice description you've added just now.
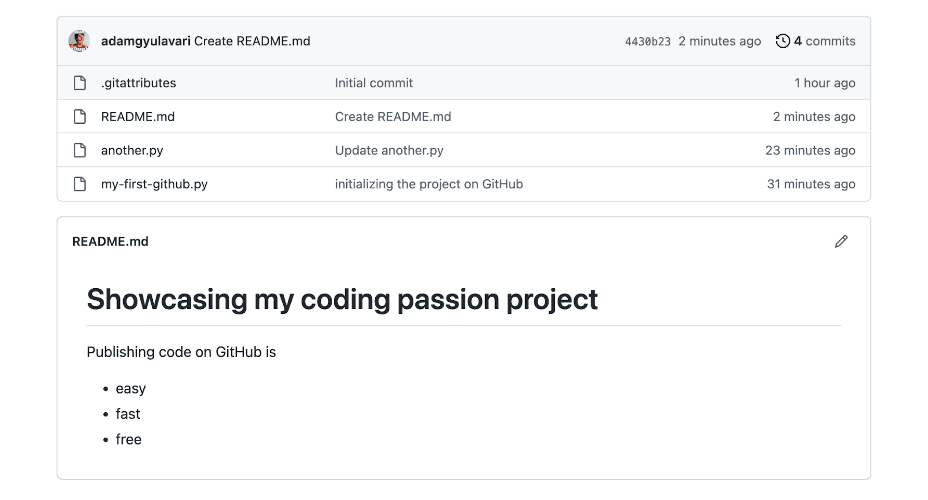
You can always make changes to the README.md or to your code, just don't forget to commit and push them! And voilà, that’s all it takes to publish your first coding project on Github! If you are interested in learning more about starting your own coding passion project, sign up at Polygence to receive personalized guidance from an expert mentor!
Get Matched with a Computer Science Mentor
Interested in working on an exciting computer science research project? Click below to get matched with one of our expert mentors!